Jamberry nails create convenient alternative to expensive nail salons
February 27, 2015
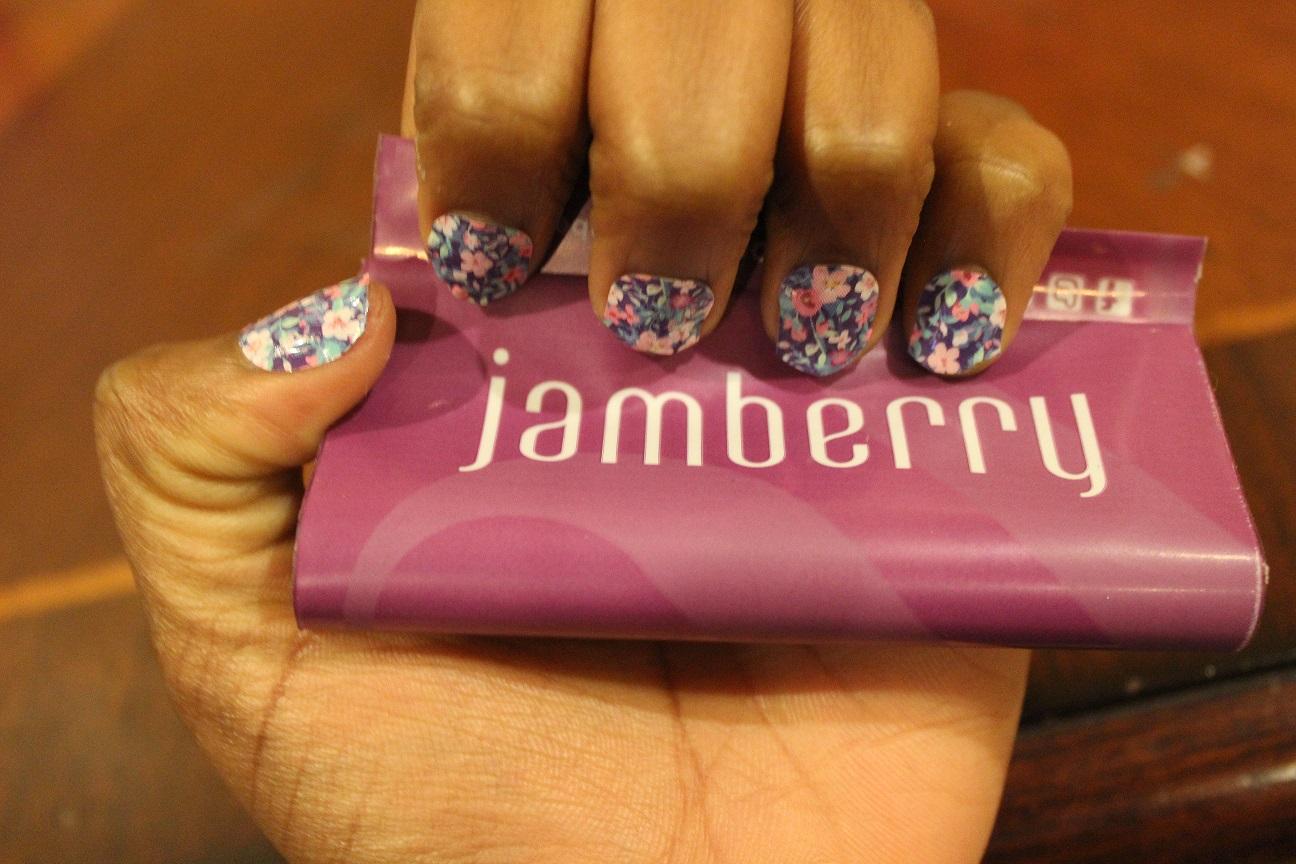
Jamberry Nails, the popular new nail shields sold by independent consultants, come in a variety of colors, patterns, and prints for convenient fun without the hassle of expensive manicures at a lofty salon.
The product started as three sisters’ dream to design their nails in a fun and creative way. These DIY nail wraps last about two weeks on fingers and 4-6 weeks on toes. Last week, I applied the Ditsy Floral print to test the products quality and durability.
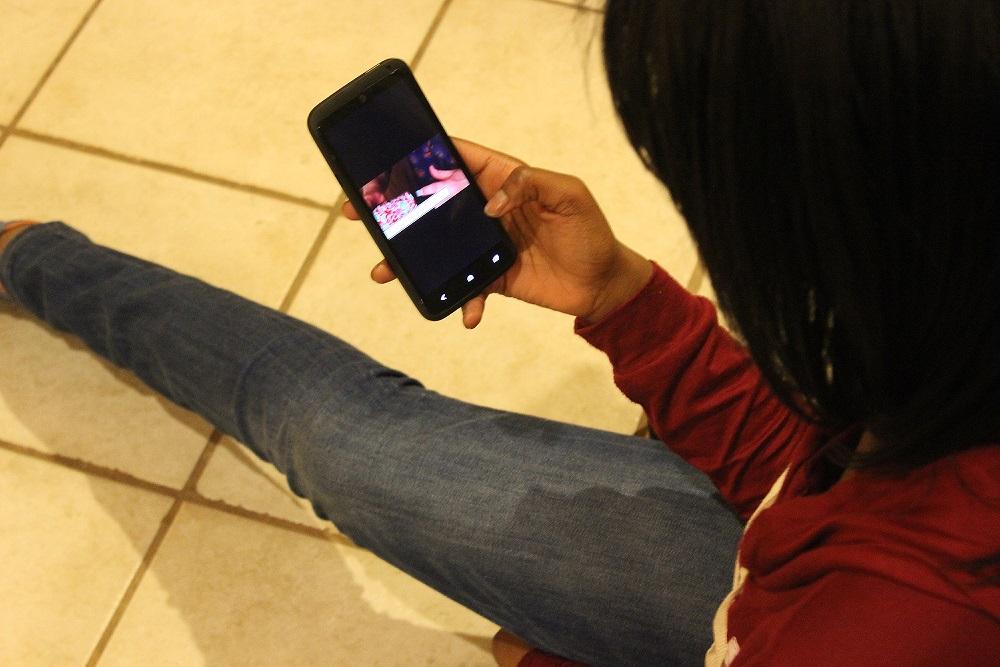
Watch the tutorial video on the Jamberry website, or easily find it by searching on YouTube.
My sister and I watched the application video before starting, as the instructions on the back proved a little confusing. Here is the link below.
http://www.jamberrynails.net/home/ApplicationInstructions.aspx

These are the tools that are recommended to use.
To apply the nails you need cotton balls, nail polish remover, the nail wraps, a filer, nail scissors, a nail clipper, and a blow dryer.

Keep nails clean to start for optimal results.
After I cleaned, cut, and filed my nails, I was ready to start applying the shields. I cut my nails short and round, while my sister Camryn shaped her nails into a long squoval (square/oval) shape. Maintaining clean nails remains crucial because with oily nails the adhesive will most likely not stick.

Some users maximize the amount of space they have on each sheet. Unlike going to the salon, some people can cut their sheets down so much they can have three to four applications per package.
In step 4, you need to match the length of your nails to the shield. My sister Camryn helped me cut the shield, but you can do this by yourself.
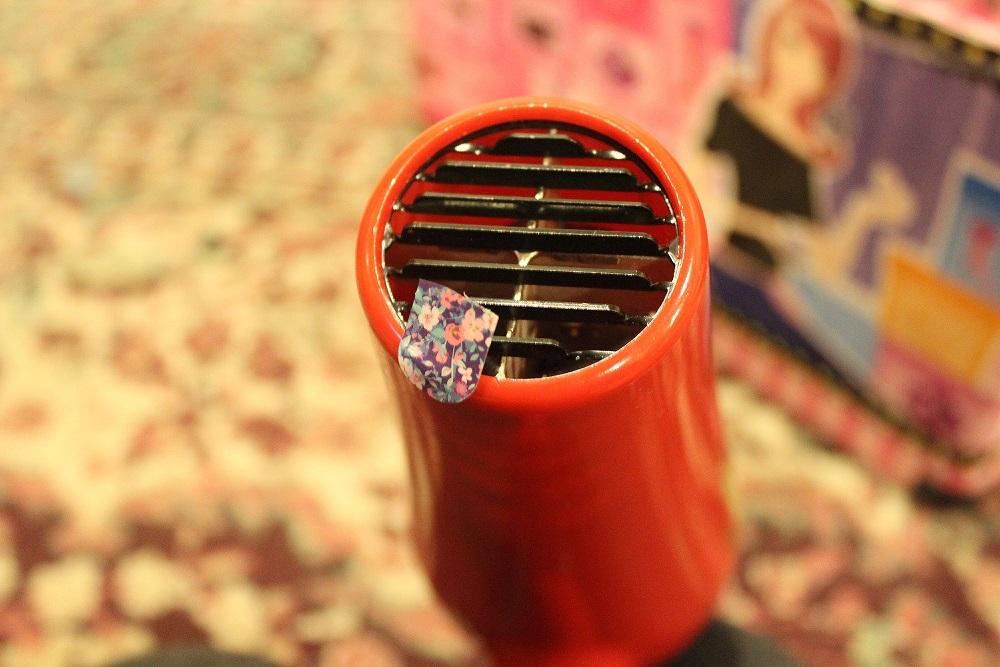
Heat up the adhesive to make the nail shield stick.
In step 5, you need to warm the shield with a blow-dryer for 10-15 seconds or until soft and flexible. Although in the video the nail shield faces the other direction, I found it easier to have the round curve over the dryer.
After this, apply the flexible shield onto your nails and follow the directions. I found it helpful to rub the shield from one side to another to press it on and apply the dryer’s heat. Here is the final product!
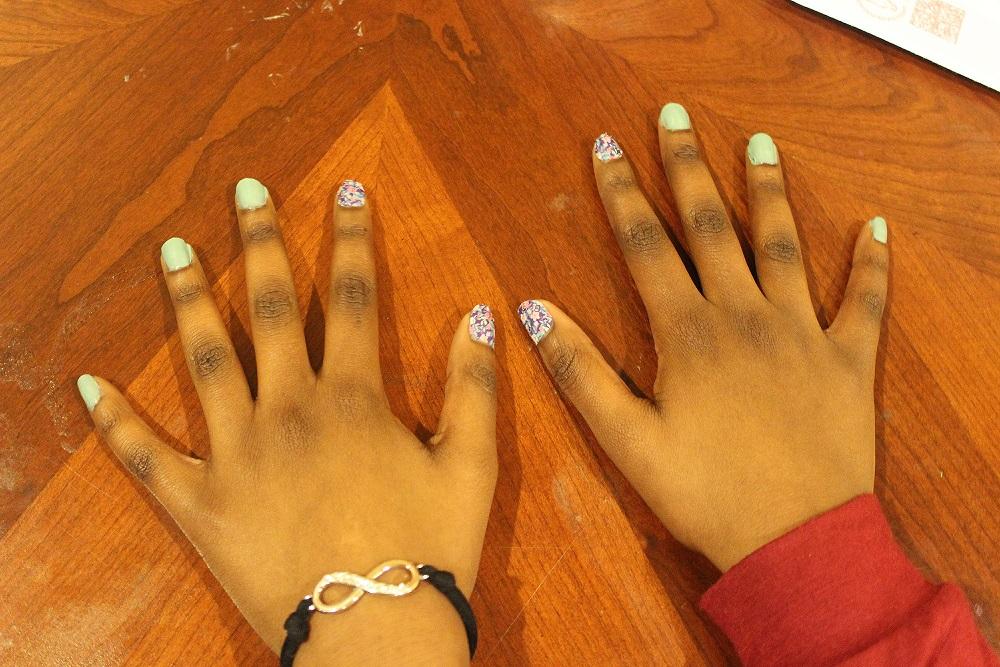
Jamberry offers lots of different styles and other nail products like nail laquer to help you find your best nail combination.
Camryn chose a different style and used the wrap as an accent to her mint colored nail polish.
Fun patterns make Jamberry ideal for people who like to mix and match or who get bored easily with their nail polish.
After finishing my nails, I immediately thought that they looked like stickers and gained a lame impression of them. The next day, however, I fell in love with them. It took me an hour to complete both hands. Nikki Hauser, Acworth Jamberry consultant, says that on average, the application time takes 15- 25 minutes, but admitted that it took her 35-40 minutes to apply her first set.
Tips for application:
- Be patient.
- Have help ready.
- Apply additional heat with the dryer to create a firmer bond with the nail and shield.
- Get the shields as close to the cuticle as possible and cut close to your nail.
I would recommend these nail shields to nail connoisseurs looking to add a fun and interesting aesthetic to their nails. While I was still able to perform everyday tasks, the wraps chipped after a week. While these nails boast beauty and generate many compliments, the application process takes an excruciatingly long time. In the end, I found the process definitely worth the effort in exchange for a few days of fun nails.
The Chant’s grade: B